


We could see our neighbor's garage (my least favorite thing about the house was being so close to our neighbors). The fence helped though!!

My husband built this fence before we even moved in. That was key for me ;) This is ALL WEEDS that you see here. You might also notice we had the tree in the middle of the yard taken out. We did this for safety reasons, because the roots were touching the foundation and the branches were sprawled over our entire house and garage, making it risky in storms. The big brown patch in the yard is where the tree was taken out.

This was on the morning that we had our landscaper even out the yard. You can also see we built our little flower bed in the back.


When you are standing at the gate and turn to the left, you see our new deck! My husband and our family friend built this with their own four hands and I'm so proud of him. It's changed our living so much, because now we're able to sit outside for meals, even when it's sunny, thanks to the umbrella!
I really didn't want to do rails around the deck because the fence is so close (probably 4' away from where the deck ends) so we decided to do these giant flower beds and I love how they turned out! They act as railing and then we left the rest as open stairs. On the deck we did a gray table with woven chairs. I'm not giving lots of close ups of these because they're no longer available and I didn't style this area much before my pictures. I just wanted to get it done for you :)

In these planter beds I did Hibiscus in the taller ones, since they'll grow taller each year and eventually give us more privacy from our neighbors house, which is super close to ours (ugh, but what can you do?!) And in the lower bed I did a combo of some colorful annuals in addition to my basil and rosemary on the end: dahlias, petunias, violet pansies (edible, kinda fun!), and snap dragons. On the steps I have mint and lavender. Don't plant mint in a bed with other flowers!! It takes over.


We strung up lights to give it a cozy feel at night!


Here's my basil and rosemary.


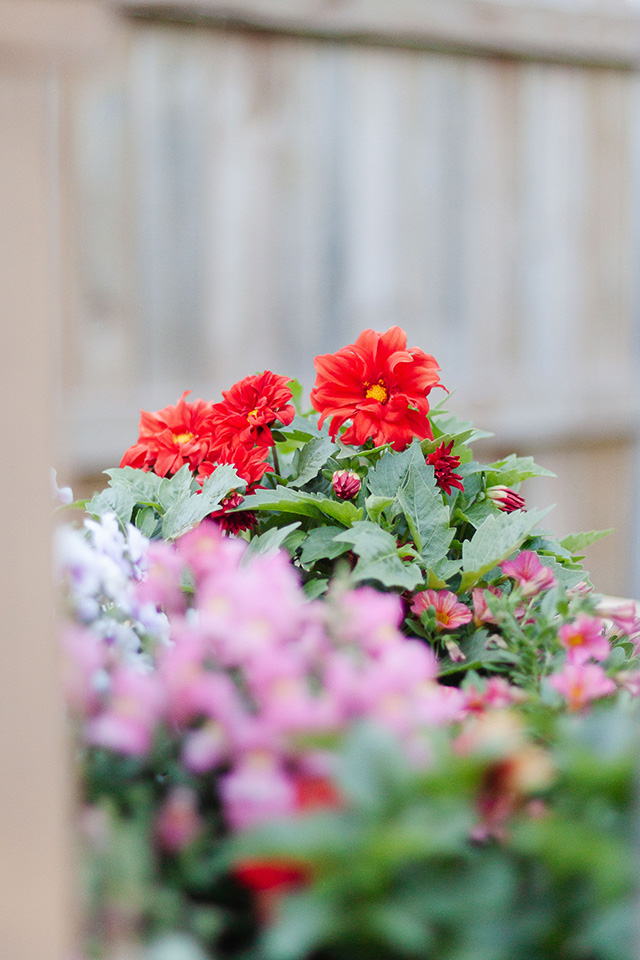
These dahlias are doing amazing!! Just blooming like crazy. I wouldn't normally do red or orange in a garden, but I wanted to tie in my red/orange hibiscus plants in the taller planter, so I sprinkled some in below here. I actually think it looks really pretty and cheerful!


On the side of the garage we added shutters and a window box, made by my friend Anna at GR Project Shop. They added so much personality and gave our boring old garage something special.

We also added trellis' on either side with moon flower, which is like morning glory, growing up the vine! I can't wait until it starts flowering.

The back of the yard has our flower bed and my cut flower garden.

In here I have (from left to right) a lilac tree, two boxwoods, a hydrangea, my heirloom garden rose, a blue hydrangea, a couple hosta and a peony. In the front are annuals-- impatiens and petunias.

My neighbor gave this to me in April when she was transplanting some from her yard that she wanted to clear out. I didn't think it'd flower, but low and behold!!

This is the garden rose. The variety is called Gentle Hermione.

They smell SO fragrant!

To the right of that, by the shed, is the cut flower garden. I have a bunch of varieties in here. The tall ones in the front are zinnias, there are cosmos, aster, phlox, scabiosa, snap dragon, amaranth, lupine and more dahlias (they'll bloom last probably). The goal of a cutting garden is to keep your home filled with flowers! So the more you cut, the more will grow. It's going to be fun! They're just starting.


This is the flower bed under our dining room window, to the left of the deck. It has hydrangea, snow ball viburnum, astilbe (not doing well though ha), two hosta, and then some annuals-- impatiens and petunias.


This lavender hydrangea has my heart big time!


Here it is a little later at night with the lights.


xoxo


It looks great Michaela! Love the built-in planter boxes!
ReplyDelete