WHAT YOU'LL NEED TO MAKE PUMPKIN SHAPED BREAD:
+ your dough (here's my recipe!)
+ bakers string (dipped in olive oil so it doesn't stick to your bread)
+ bread lame (took to score the pattern into your dough)
LET'S GET STARTED!
Once your dough has done it's overnight proof in the refrigerator, you will cut your string, dip it in olive oil (so it doesn't stick to your bread), and lay it out on the dough before baking.
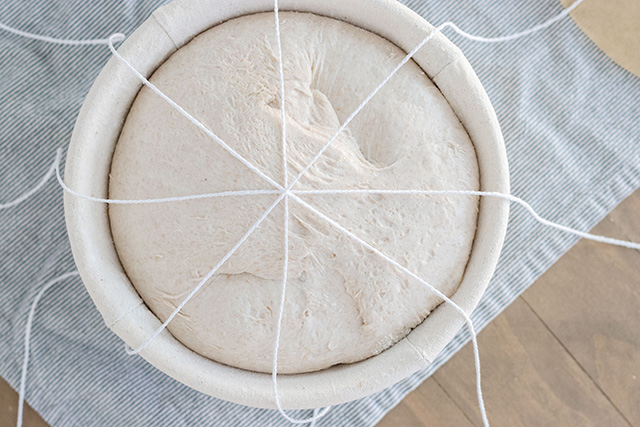
As seen below, cut 4 pieces of string, each about 20" long. Lay them out over the banneton (in bannetons, the top of the loaf is face down, so what you see here is the bottom of the loaf) in the pattern that you would cut a pizza. You should have 8 triangles.
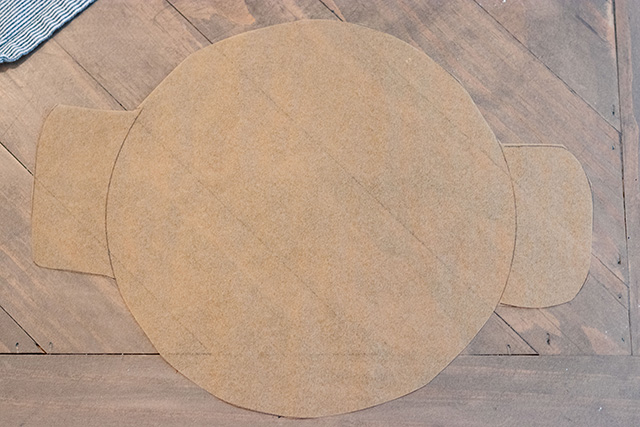
You'll want to cut out a round piece of parchment paper (cut to size that you know will fit your loaf) but be sure to leave little "handles" on the sides so you can easily use those to lift the dough into the dutch oven when it's time. I learned this the hard way-- I didn't do this for my first loaf, hence why you won't see the handles in my pictures. I realized it would have been very handy after the fact!

Cover your banneton with the parchment paper and carefully flip it over!
I flipped it over onto a paper plate to give me more stability. As you can see, the strings are now on the bottom of the loaf.
Now you will tie up each set of string to meet in the middle so that the loaf looks like this:
Next up, you score the loaf. I did a simple alternating pattern in each triangle.
Lift your tied up dough into the dutch oven and cover it with a lid.
In my recipe, I bake it for 26 minutes at 475 with the lid on, then remove the lid and bake it for another 15 minutes at 450. This photo was taken after I removed the lid:
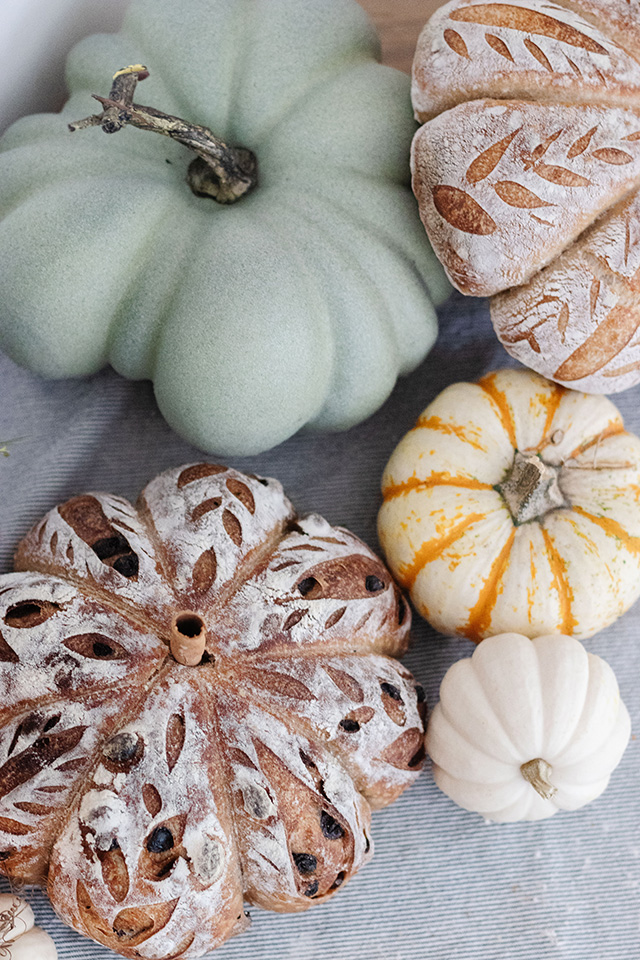
After baking, it should look like this! Let the bread cool for an hour with the string on. After the hour, remove the string by cutting if off, and insert the cinnamon stick in the center of the top of the loaf. It'll go right in!
Aren't they adorable?!
I made one plain loaf and one cinnamon raisin. The cinnamon raisin was SO good!! If you're interested, my recipe calls for 1000 grams of flour and makes two loaves. My cinnamon raisin ratio is 300g raisins (don't forget to soak them!), 3 tablespoons cinnamon, 3 tablespoons coconut or regular sugar per 1000g of flour. (Since I only did one flavored loaf, I cut this in half.)
Which two are not like the others?! ;)
Michaela


No comments
Thank you for stopping by! If you have a specific question, please email me at hello@michaelanoelledesigns.com. I always reply to emails! Have a blessed day! xoxo