
So I had a bit of a blogger fail because my husband ripped out the shelf that was here before, BEFORE he took photos of what it looked like. But this is essentially our "before" photo. Just imagine a really ugly shelf hung above the hooks there. Just so you know how small of a space this is, it's 36" x 18". One day I said "I wish we had a little bench there at the side door" and my husband quickly replied "Oh I can build one!" And off to Lowe's he went ;)

STEP 1: Demo
STEP 2: Get the plywood you need. We did two 1" thick boards for the actual bench, covered by a 4" thick piece to finish it off nicely, then support pieces under the bench to hold it up. These were 2x4's that he screwed into studs in the wall before attaching the actual bench top. We made the top of the bench at 18" off the ground. Our bench measures 36" wide by 16" deep. I didn't want it to take up the entire depth of the nook, so I made it 2" shorter.
STEP 3: We had to patch the walls where the old shelf destroyed it when we took that down.
STEP 4: Get your shiplap. We used this grooved and primed shiplap from Lowes (not sponsored!) Make sure you measure your wall space width and height (we only shiplapped above the bench to save some $) so you get the right amount of boards. The grooved shiplap is awesome. It's what we used above our mantel as well and I'm really happy with it. First, it's easy to lock into place and hide nail holes and second, you don't have to really paint inside the grooves because it's already white (painting inside the grooves would be a huge pain!)

STEP 5: I caulked the seams around all the sides and along the front where my husband applied the finishing piece to make the bench look really thick.
STEP 6: After this dried, I primed the bench with an oil based primer with a brush.

STEP 7: Fill nail holes and spackle.
STEP 8: Paint the shiplap and bench. Yes, the shiplap is white, but it's not the same white as our trim, so I wanted it to all be the same color. I did two coats of the paint with a moleskin roller, as recommended by my kitchen cabinet painter! At this point we also painted the walls because of the repair we had to do. And by "we", I mean McCann ;)

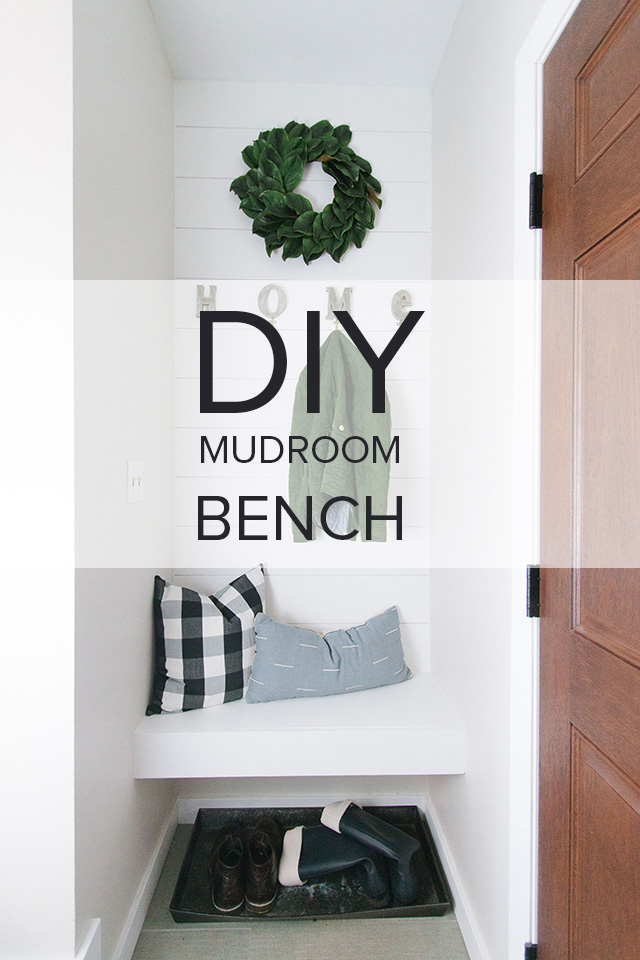
For finishing touches we hung these sweet HOME hooks. I checked for you and all the letters to spell HOME are available. Hooray! I also hung our Magnolia wreath I got from my friend's etsy shop, but she's not making them anymore. There are tons of gorgeous options on Etsy though! I found the gingham pillow at Hobby Lobby last year (but here's a similar one on Amazon) and the lumbar at Target. These are just place holders until I get a bench pad cover made. Then I'll find coordinating fabrics for it!


This little corner might not look like much, but it's a huge transformation for us!! It's already been so nice to be able to sit down and put shoes on and hang coats there! It's also not a terrible eye sore anymore. So thankful that my husband is so handy (which came as a surprise to both of us ;)) Just proof that you can learn anything on YouTube!
Happy Monday!
xoxo


No comments
Thank you for stopping by! If you have a specific question, please email me at hello@michaelanoelledesigns.com. I always reply to emails! Have a blessed day! xoxo