Today I’m giving you an easy Do It Yourself project to create stylish place cards for your next gathering. And there’s a bonus! They can also double as party favors.
Here’s what you’ll need:
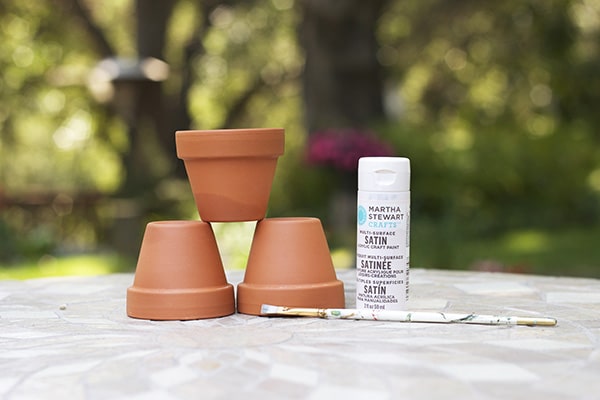
Mini terra cotta pots, small potted plants, paint, paint brush, place cards, pen, tape or glue.

Step 1: Begin by painting your terra cotta pots in a cute pattern, or just paint the rim. Although it appears more white in the images, I went with a soft blush pink paint color to keep it simple.
Step 2: Pick up some name place cards to write your guest’s name on. These pretties are from Rifle Paper Co. Tape or glue them onto a wooden stick or thick toothpick.
Step 3: Pot your mini plants and stick the name cards in the dirt.
Step 4: Set your table with a few key pieces: flowers, cute plates, fun drinking goblets, napkins, colorful throw pillows, and the food. This set up was for an afternoon girlfriend get together with fresh berries, homemade bread and jam. Yum!
If this is the type of party where you want to give out favors or thank you goodies, then let your guests know they can take the plant with them when they leave. I, for one, would be giddy to take home a mini plant like this!
Hopefully this will inspire some summer entertaining! This post was originally seen on The Inspired Room.
xoxo


so cute!!! Loved your table setting! So pretty and colorful and I love that the placecards and the little pots!
ReplyDeleteHow lovely! So beautiful and summery!
ReplyDeleteWhat a beautiful table setting. Love the pots and the place cards.
ReplyDeleteHow fun!!!
ReplyDeleteGorgeous table setting! You go rock star!
ReplyDeleteVery pretty table setting! What a fun feature it will be each month Michaela!
ReplyDeleteSo cute Michaela! I can't wait to see what you come up with every month.
ReplyDeletexoxo,
Chelsea & The City