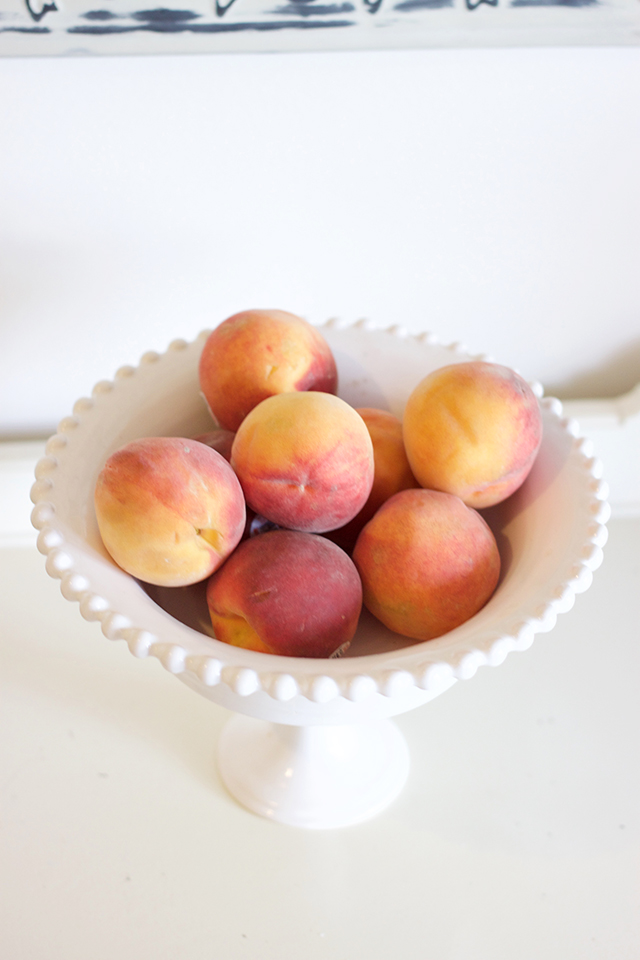
Happy first day of Fall! (How did this happen?!) Last week I decided I needed some festive fall decor in my apartment, so I went to the craft store and decided to make some white and gold pumpkins. It turned out pretty cute (I think!) so I wanted to share what I did here with you.
Materials: A bunch of pumpkins from the craft store ($6), white chalk spray paint ($7), gold foil paper ($10, but only used one sheet for this project!), tacky glue ($2, but already had mine)
Step 1: lay out a box or a drop cloth and spray your pumpkins white using a chalk paint. I love the matte, chalky finish this gives the pumpkins. They're casual and farmhouse looking, which I love. I did 2-3 coats to get them fully covered and kept rotating the pumpkins in between coats to make sure I didn't miss any spots.
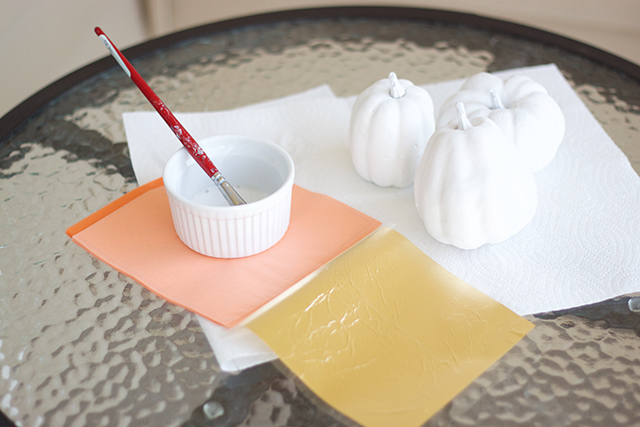
Step 2: After the pumpkins are totally dry, I put a little bit of Tacky Glue in a ramekin an mixed it with a tiny bit of water to water it down a little.
Step 3: Using a paint brush, I lightly brushed the pumpkin with the water/glue mixture. (I watered it down a little so that there wouldn't be clumps of glue. The gold foil is sort of flaky and hard to work with, so didn't want to make it worse with tons of glue everywhere!)
Step 4: After brushing on the glue, I kept the gold foil on the paper it came on and pressed it onto the pumpkin. The gold foil will usually just stick to the parts with the glue. I also found my self peeling off small parts of the gold foil and applying it myself to areas I thought could use more.
This is what it looks like! I only did 3 of my 7 pumpkins with gold foiling, which I think is a fun and special touch.
They're sitting in a gold bowl/platter on my bookshelf.
DETAILS | Bookshelf / Mercury Glass Owl / Art was a DIY / Gold Vase (similar) / Decorating books / Seaglass Vases / Bookends / Gold Bowl for pumpkins / Similar & sign
This was a fun little project to say "Welcome, Autumn!"
Happy Wednesday!
xoxo


