Pumpkin Shaped Sourdough Bread

Want to take fall, halloween and thanksgiving decor to the next level?! Let's make pumpkin shaped sourdough loaves! I do realize this will probably only apply to those of you who already make sourdough, but perhaps this idea is cute enough to convince you to get into bread making ;) If you're new to this, you can find my sourdough recipe and how-to blog post here. It'll help you through the entire process!


WHAT YOU'LL NEED TO MAKE PUMPKIN SHAPED BREAD:


+ your dough (here's my recipe!)
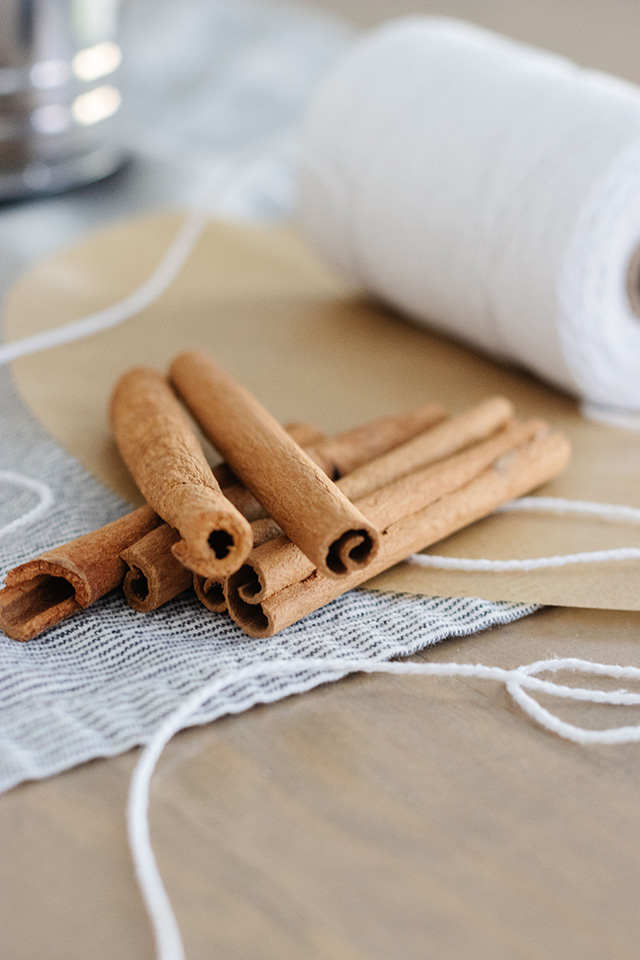
+ bakers string (dipped in olive oil so it doesn't stick to your bread)
+ bread lame (took to score the pattern into your dough)

LET'S GET STARTED!


Once your dough has done it's overnight proof in the refrigerator, you will cut your string, dip it in olive oil (so it doesn't stick to your bread), and lay it out on the dough before baking.

As seen below, cut 4 pieces of string, each about 20" long. Lay them out over the banneton (in bannetons, the top of the loaf is face down, so what you see here is the bottom of the loaf) in the pattern that you would cut a pizza. You should have 8 triangles. 


You'll want to cut out a round piece of parchment paper (cut to size that you know will fit your loaf) but be sure to leave little "handles" on the sides so you can easily use those to lift the dough into the dutch oven when it's time. I learned this the hard way-- I didn't do this for my first loaf, hence why you won't see the handles in my pictures. I realized it would have been very handy after the fact!

Cover your banneton with the parchment paper and carefully flip it over!

I flipped it over onto a paper plate to give me more stability. As you can see, the strings are now on the bottom of the loaf.

Now you will tie up each set of string to meet in the middle so that the loaf looks like this:


Next up, you score the loaf. I did a simple alternating pattern in each triangle. 

Lift your tied up dough into the dutch oven and cover it with a lid.

In my recipe, I bake it for 26 minutes at 475 with the lid on, then remove the lid and bake it for another 15 minutes at 450. This photo was taken after I removed the lid:


After baking, it should look like this! Let the bread cool for an hour with the string on. After the hour, remove the string by cutting if off, and insert the cinnamon stick in the center of the top of the loaf. It'll go right in!


Aren't they adorable?! 

I made one plain loaf and one cinnamon raisin. The cinnamon raisin was SO good!! If you're interested, my recipe calls for 1000 grams of flour and makes two loaves. My cinnamon raisin ratio is 300g raisins (don't forget to soak them!), 3 tablespoons cinnamon, 3 tablespoons coconut or regular sugar per 1000g of flour. (Since I only did one flavored loaf, I cut this in half.)

Which two are not like the others?! ;)


I hope you give this a try! It's a show stopper :)


Happy fall, my friends!
Michaela

michaela 


interior design website / services / portfolio


0

Cut Flower Garden 2022

I'm so not ready for it, but sadly, the growing season in Michigan is coming to an end. As you know, gardening and flowers are two of my favorite things! It was so nice to be outside this summer and watch everything grow. I wouldn't say it was my best cut flower garden year (I remember producing a lot more last year), but it was great, nonetheless. Any amount of flowers are better than none!

From the peonies in June...


To the cut flower garden that bloomed from late July-October... (but look how they started when I planted them in late May!)


Here's how it looks now... (well, as of 3 weeks ago when these pictures were taken!)


I've also been so happy with how my roses did this year. I got this new rose bush called Angel Face in the spring and it did amazingly well!


These are Asters and behind that, cosmos (which bloomed incredibly late, but are doing well!)

Here's the scabiosa and phlox...


Lots of pretty zinnia!


The hydrangeas also did really well! I'm excited to see all the pretty colors they'll turn next year. 


I had a couple pots on our deck filled with this dainty Euphorbia, alyssum and Vinca.


Things I'm going to do differently in my cut garden next year:


+ I realized I can pack a lot more plants in my small patch, so I'm going to hope to double the amount of flowers I plant next year
+ fertilize more often (I didn't even realize I should do this until last month ha!) 
+ I love zinnias and I did a ton of them this year, but I would have loved to have more of other varieties. I really want to get more snap dragons, phlox (in different colors, this year mine were super bright which was fun, but I'd love to have a more subtle color as well), asters, scabiosa, globe amaranth, and strawflower.
+ Next year I'd love to try to grow some greens/filler varieties. Maybe lemon basil and some snow on the mountain.


I'm already excited for gardening in 2023! Before the cut garden though, I'm hoping to produce a lot of spring bulb flowers by growing them in different pots of the winter. I'd love to put the pots on our porch in the spring and have them exploding with hyacinth, daffodils and tulips! We'll see how it goes ;)

Thanks for following along in all my flower adventures.

xoxo


interior design website / services / portfolio


0

Back to Top