New Apartment Floor Plan & Tour


I can't believe I've been in my apartment for almost a week now. I wanted to show you the BEFORE of the place, without any furniture so you can see a true transformation ;) First I wanted to show you the floor plan of the apartment so you could get the idea of the space. I forgot to take pictures of the bathroom, but just imagine a super simple, kind of outdated bathroom and you've pretty much got the full picture. Ha!

Here's the floor plan, completely not to scale:

Here are some pictures in black and white {because I couldn't stand the color versions!}


 As you can see, I've got a great little dining room set up with my veryyyy temporary folding table and chairs. I snapped these pictures right after we moved some boxes in and started unloading, so don't mind the mess! Thankfully I now have a few pieces of furniture: a sofa, side table, media console, side chair, bed, nightstand, buffet table and a little cabinet for my bathroom to hold some towels. I found both the buffet and the bathroom piece at an antique store yesterday and I'm just giddy over them! Here are a few sneak peeks of the place coming together from my Instagram:


 There you have it! Just a few touches from around the new place. I'll be posting more on instagram as things get done.

Happy Wednesday!
xoxo
Photobucket
17

Fireplace Takin' Center Stage

A few weeks ago I did a family room e-design for a client who told me she had a fireplace with the stone running all the way up to the ceiling.  I was blown away by how beautiful this fireplace was when I saw the pictures Brenda sent! The dilemma? How to position the seating around the fireplace and media center.  This is a common problem folks tend to have when trying to configure their family rooms. They want to highlight the focal point of the space, while making it a functional room at the same time!


Family Room Stats:
Center Stage: Fireplace
Function: TV and relaxing room


Here's the stunner:


Here's the layout (sofa is to the right of the fireplace against the wall)


The main thing I tried to fix was the flow of the space.  Sometimes the best way to create a better flow is to bring furniture to the middle of the room, instead of pushing it all up against the walls.  Also, by turning the couch (the pretty new one you'll see in the inspiration board!) perpendicular to the fireplace, we still incorporated the focal point without making it feel like it was out of place or just floating on the wall. I also moved the entertainment center to the opposite wall, since it was the only wall without windows, an archway, or fireplace.  To balance that side of the room, I sourced some bookshelves to give it height.  A fun garden stool, end table with a mirrored top, and introducing some blues and greens really helped to freshen the space.


Here's the new layout I came up with:


The inspiration board for the family room is clean, traditional, soothing and has a touch of modern elements seen in the occasional chair, cube ottomans, mirrors and pillow fabrics.


And finally, here is the media wall that I designed:


I think the flow will be wonderful and the greens and blue will be perfect with the colors in the fireplace materials. Can't wait to see the room's progress! What do you think? Have you ever had a space planning issue like these when trying to draw attention to a focal point?


If you need help in designing a room in your home, please visit my e-design page or email me at michaelawarner90@gmail.com
I'd love to help you create a space you love by coming up with an inspiration board, layout, or help you solve a quick design dilemma.


Hope you have a glorious Tuesday!
Love,
Photobucket
19

Tips and Tricks: Creating Your Favorite Space

It's Thursday and we're due for a design post!
Today I'm going to unpack my top three tips for arriving at your favorite space.  Shall we?

One: Find your Inspiration Piece First
In order to achieve the room you love, my most important tip is starting with a piece you love.  Too often people will paint their walls and THEN start searching for the furniture, textiles, and accessories.  They run into problems when they realize their favorite couch doesn't match their wall color.  For this reason, choose a couch, pillow, bedding, or piece of art you want to be your "inspiration piece" and choose your wall colors and other decor to follow suit.

Sarah Richardson does this so well. Her inspiration often comes from an inspiring textile or material, such as this headboard fabric:

Or this kitchen backsplash that dictated the greens, blues and grays for the space:


Lastly, this striped chair made for a sure statement room when she decided to bring stripes up the walls, too! Love her boldness.
*all images via

Two: Space Plan
 A smartly arranged room makes all the difference.  Here are three things to consider:

1. Pushing your furniture against walls to make the space look larger is a total myth (: {unless that really is your only option.} Besides, it gives the room more personality if the furniture is angled or out in the room.
2. To create a sense of unity in the room, create conversation areas with groupings of chairs, the use of an area rug, or things of that nature.
3. Highlight the best features.  Turn the furniture to accentuate a fireplace, beautiful window, or your inspiration piece!

Here are some rooms with pleasing layouts:
via


via

Three: Dress it Up with Things You Love
Less is more, friends! Filling your room just to fill your room is the fastest way to end with a cluttered mess.  Once you arrive at your style, only buy things that fit your style and that you are truly in love with.  Then start styling book cases, floating shelves, media cabinets, dressers, gallery walls and the like.


via


Hopefully these tips will help you in designing your next space!
What things do you consider before starting to decorate or redesign a space? What are some of your recent design dilemmas?


I'm off to San Francisco with Cristin today to meet Holly, the talented blogger of Decor8 and the author of the new design book, Decorate. Can't wait!
Love,
Photobucket
12

My Childhood Drawings

When I was little I'd draw all the time. But unlike most tots, I wouldn't be found drawing ponies, hearts, or butterflies.  You'd find me with my graph paper, napkin, old receipt, plain white paper, or my kids menu at a restaurant sketching floor plans! I'm talking seven years old and drawing blue prints to houses I'd never seen before. I'm not sure what it is about houses that intrigue me so much, but I just remember being in my own zone when I would draw. Sort of like another land, thinking up real homes with real live people in them.  That would explain why each bedroom had a child's name in it.  After I drew the plans, I'd go to my room and build them out of my Jenga blocks. Following the completion of the plans, I'd find anyone who would listen to me give the "grand tour" of the new home.
I guess I was destined to go to school for interior design! My floor plan drafting class a few quarters ago was by far my favorite class.  Drawing floor plans for homework? Yes, please!
***
A few days ago I was cleaning out my room and I found a folder filled with my old floor plans.  They made me laugh so much, I figured I had to share with you!


The pictures are shown in order of when I drew them {youngest to oldest}


1. This is by far the funniest one.  I have no memory of drawing this {I swear!}, but this is Santa & Mrs. Clause's house in the North Pole. See for yourself! Can we just talk about this windingggg staircase to the left by the "Entry for Elves".  Wow.  And if you can even remotely follow the floor plan, you'll notice those stairs and the really short stairs in the middle of the image end up on the same floor. Ahh, didn't quite get it yet! #blessmyheart
Age 9
The highlighted part is Santa & Mrs. Clause's quarters and the rest is the Elves. You know, just to clarify (;
2. Next, I got really into detailing the bedding and furniture I placed in the plans. I think I was working on my cursive...
Age 10
Lots of hearts and lines and shading.  If you look close you can see that I named the children Aliya, Alexis, Caleb and Colby. Clearly the room with the heart bedspread is the Master (:


3. Now I started using graph paper.  I was getting serious, ha! Straighter lines and a key on the right hand side so you know what type of flooring is where...not sure how I came up with that system!
Age 10


4. My final floor plan for my drafting class:
Age 19


Phew! I've come a long way.  Thankfully, so has my handwriting! As I sat on my bedroom floor going through all the old drawings, I was just smiling. I can't believe something I enjoyed doing when I was 9 will be what I do for the rest of my life!
Have you ever found something from your childhood like this?
Haaaapppy Tuesday!
Love,
Photobucket
42

Design Project #1

This week in my interior design studio class we learned how to draw a floor plan to 1/4" scale.  Since drawing floor plans is kinda a hobby for me, I totally enjoyed this assignment!  It seems simple, but in order to get everything perfect, you have to measure, draw the line, check it, and measure again, because if you're off by the slightest inch, it throws off the whole room!  We were given this floor plan of a room my professor actually re-designed for a client:


I had to measure the walls, windows, gap between the windows, door ways, pocket door, folding doors etc. and then draw my own, in the same scale.  The professor will grade it by placing my tracing paper over the original copy to see how accurate it is.  And of course, we we're allowed to trace! Here's my final project (we didn't have to include the furniture):


I know it's not that exciting, but it's the first step to becoming a skilled drafter and I am excited about that!
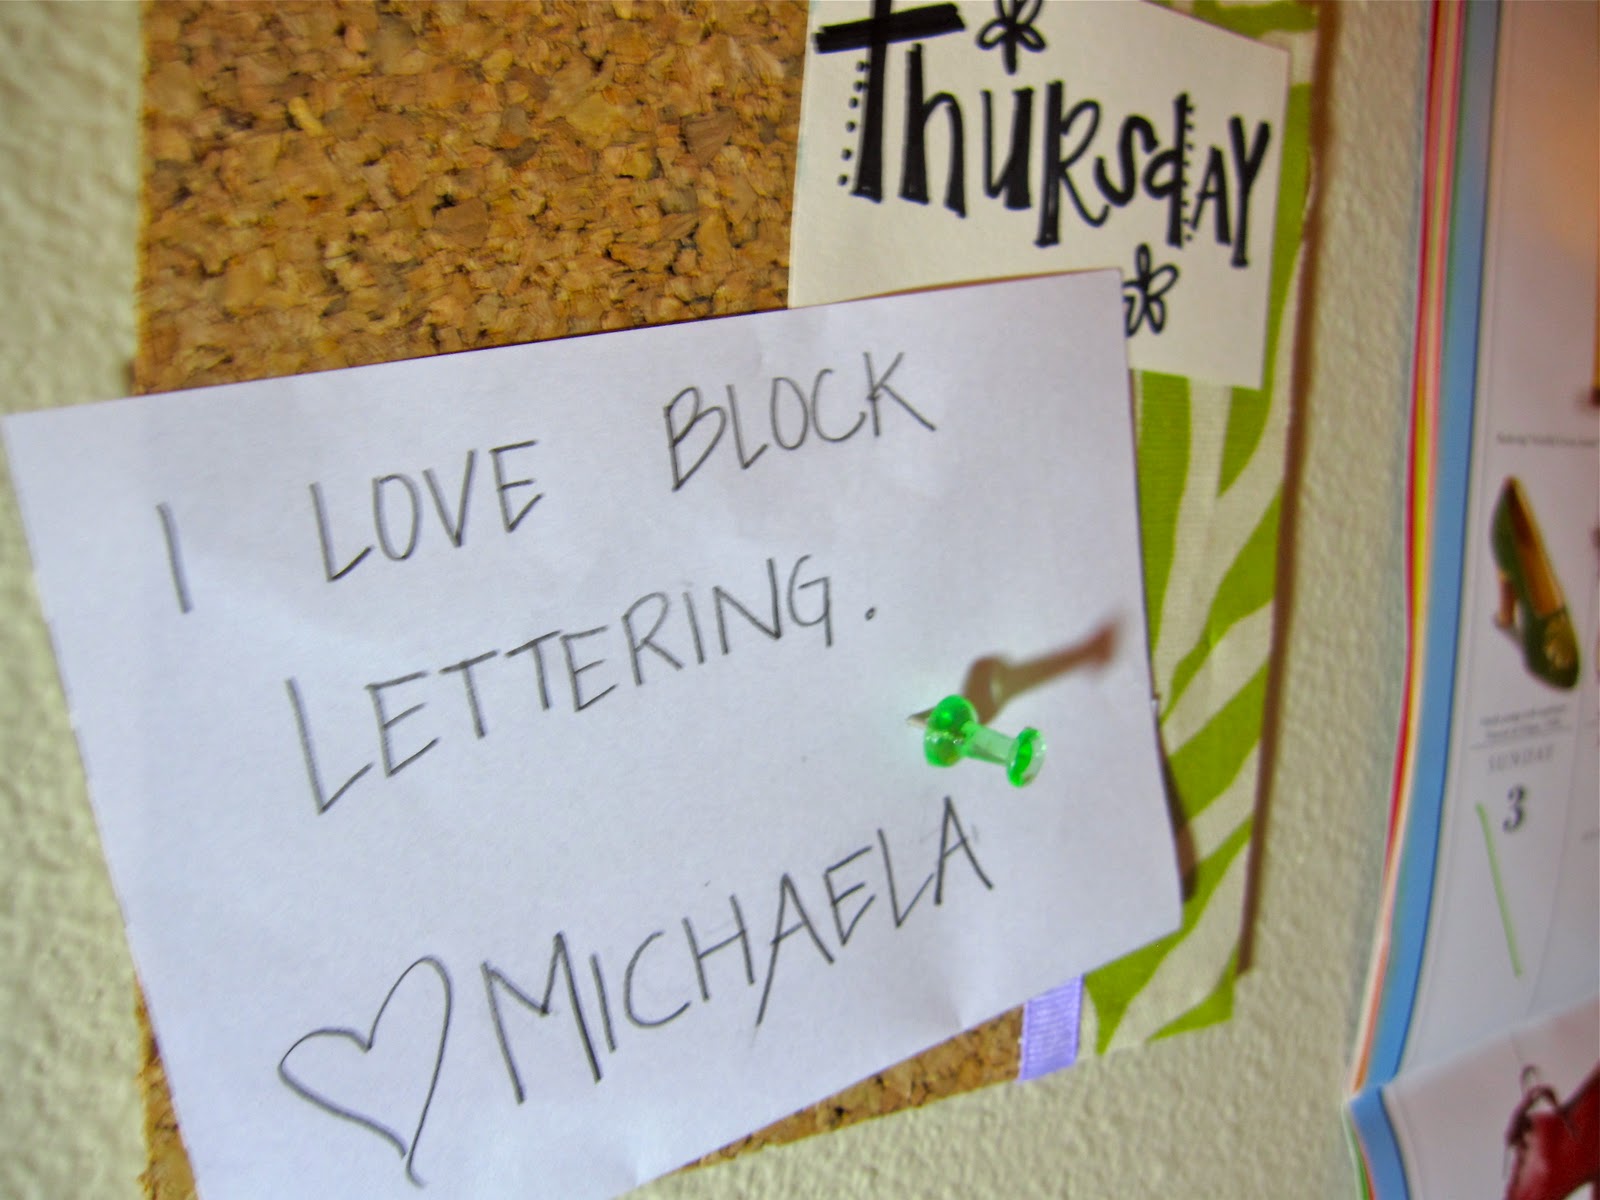
This week we also worked on writing in block lettering.  Ya know, architect handwriting font.  It was so fun, because I love handwriting things (weird, I know).  I used to practice writing my name on my whiteboard when I was little.  Because clearly it was really important that it looked perfect (; Block writing is really square and all capital letters, so it's challenging at first, but once I got the hang of it, it was fun adding my own personality:

  
Soon my writing will be as good as Candice Olsen's on Divine Design!  (I heart her).  This upcoming week I'll be drafting a kitchen plan in 1/2" scale.  Yay! 

Love and Drafting,
2

First Dates and Floor Plans

I was pacing up and down the hall, in anticipation of the doorbell ringing.  I peeked through the blinds.  It was raining.  Great.  I had butterflies, because I was excited...and nervous.  I peeked outside again, this time to find his silver truck pulling into the driveway.  It was my first date with this cute new guy I'd recently met.  I yelled to my mom, "He's here!"  She came to the door to wave to him and watch me walk out to the truck.  And as I was walking toward the car, I heard it.  The gentle reminder to "Make sure not to draw a floor plan on the kids menu! Okay love you have fun!"

Thankfully, he didn't hear.  Because if he did, I'd have to explain.  Explain that I've always drawn floor plans on the kids menu, ever since I was little.  So weird, right?!

Well, today is going to be a great day, because today I have my first floor plan drafting class and I'm excited.  Like, really excited.  Drawing floor plans for homework?  Sounds like a dream come true for me! Here's my text book:


I'll learn how to draw furniture, textiles and finishes and learn how to render the pieces.  For example, persian rugs, hardwood flooring, granite countertops etc.  Pretty soon I'll be able to draw elevations like these:


I love the text on the page, "Adding details takes a drawing from ordinary to beautiful!!"


I'll be able to draw space plans like this one:


I'm thrilled to be going to a class I know I'm going to love.  I'm eager to learn knew things.  I'm excited that we have a community of bloggers who we can share our journeys with.  And I'm continually blessed to be doing what I'm passionate about for the rest of my life.


Love and First Dates,
5

Back to Top