
I'm so excited to finally reveal this fireplace makeover to you guys! If you've been following along on Instagram, then you probably know I painted our fireplace hearth white, then stenciled over it with a gray paint to create the look of cement tiles. It looks much like Moroccan tiles do with the fun pattern. I'm giving you all the details so you can do it at home, too! Below are my DIY steps:

BEFORE: first we have to take a look at the before picture to fully appreciate the renovation. You can see here we started with the red tiles and dirty gray grout.


Step 4:
STENCIL! Once you're done painting the tile white and have a good, clean backdrop to work with, it's time to stencil. I was gifted the Santa Ana Stencil from Cutting Edge Stencils. They make really cool stencil designs for either tiles or even your walls. I got the 12" size so that I could combine FOUR of my 6" tiles in ONE stencil. If I had done a 6" stencil (one stencil per tile) it would have been a very small scale and gotten too busy I think.
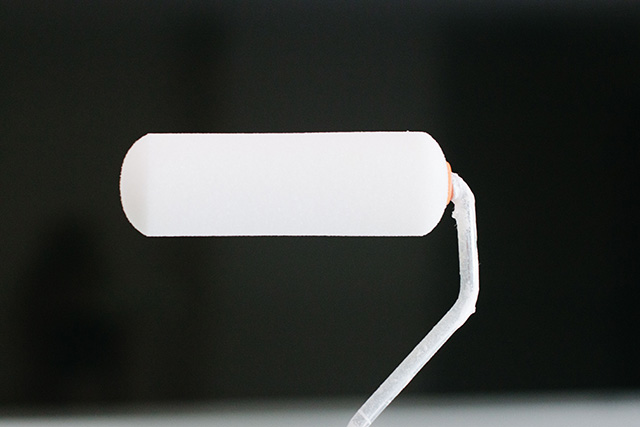
You'll need: a paint tray, small roller frame, FOAM roller, blue tape, your paint color (mine is Metropolitan Gray by BM) and your stencils (order two!!). You'll also want a couple damp paper towels.


Step 5:
Lay down your stencil across the 4 tiles and use blue tape to secure it while you roll on the paint. You don't need to pound the roller into the tile, just be gentle and make sure it's all covered. Go slow to avoid splatter!

I found that taking off the stencil right after painting it worked best.


After removing the stencil, I placed it on a large trash bag (or drop cloth), wiped it down with the damp paper towel to remove any remaining tape so it doesn't get on the hearth the next time you lay it down.

Pro tip: don't worry if you get some paint on the white part of the hearth-- quickly catch it and use a damp cloth to wipe it away. I know from experience ;) The other thing you'll want to do is skip every other tile when stenciling, so the stencils don't touch to ensure they don't smudge.

Step 6:
For me, I had the back row of tiles that we're exactly the 12". I had to cut my stencil to fit! Make sure to do all other tiles before cutting the stencil. This is another good reason to order 2 stencils!
I measured how much space was needed, then marked the length on the stencil, then cut straight across.


Step 7:
SEAL it. I did 3 coats of this Polycrylic and let it dry for 2 hours between coats. This will ensure little to no scratching and will help you wipe up scuffs or stains without scratching off the paint.
Pro tip: you'll want to touch up any rough edges BEFORE sealing it. I did this around a couple corners of the design just to crisp is up!

The priming and painting took 2 days because I waited to paint the last coats until the next day. The stenciling portion only took 1 hour. The sealing took 1 day, since I waited 2 hours between coats.
Again, here's the BEFORE:


xoxo


Thanks for sharing this kind of useful information. Keep sharing like this.
ReplyDeleteInterior Designer in North Delhi
What a genius idea! Our fireplace surround is dark green marble -- I WISH it was some sort of tile so I could recreate this! Love how it turned out.
ReplyDeleteAh! Thank you so much girl! I still can't believe how easy it was and what it did for the room. I wish yours was tile, too! Maybe one day you can just blow it out and start new ;)
Delete